
Are you re-rigging your sailboat? I always smile when someone says they have recently redone all their rigging. That means the wire rigging, maybe even the staylock or Norseman fittings and swages, right? Maybe they even had a world renown and/or highly recommended professional rigger do it all, for complete piece of mind…I once felt that way when we did all of our rigging in New Zealand a few years ago while sailing around the world.
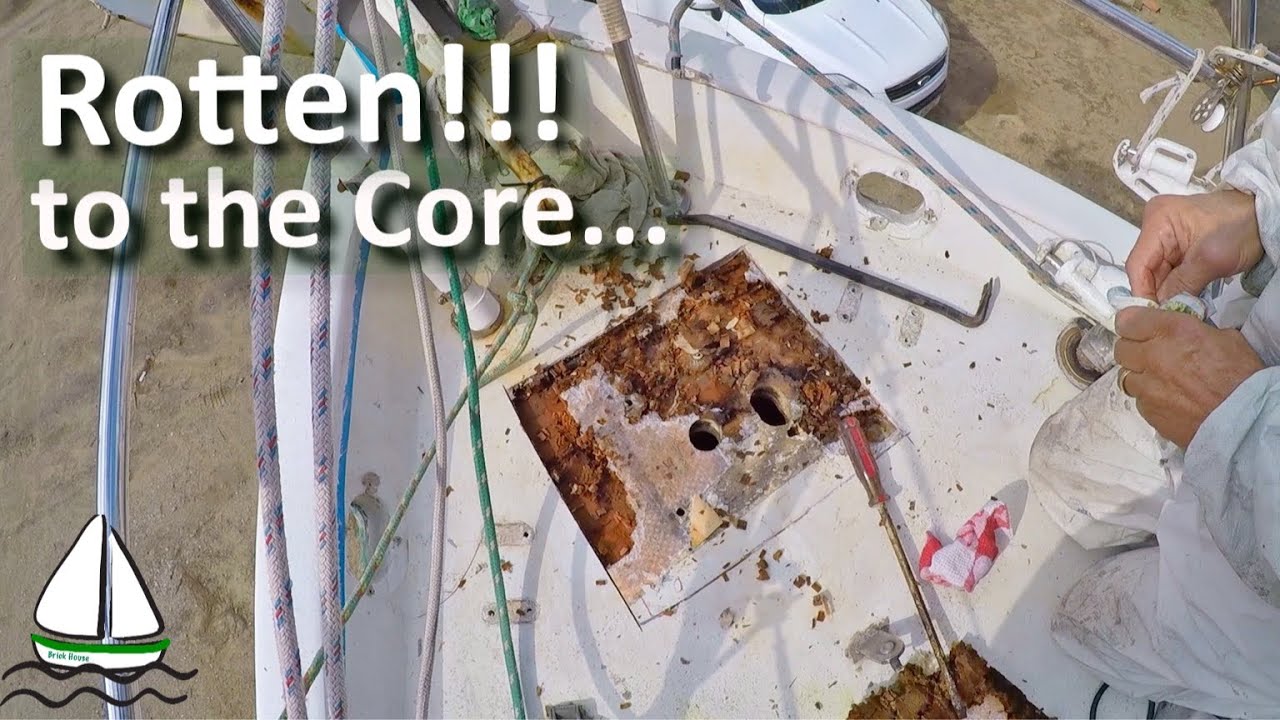
After we lost our mast in the Pacific (2011), just 3 years after replacing the rigging in New Zealand (2008) I learned that re-rigging a sailboat is much more than replacing the wires, and the fittings. Possibly more important than the critical wire and fittings, is what they are attached to at the bottom: the chainplates…and at the top of the rigging…the tangs that secure it all to the mast. Since our dismasting Patrick and I have worked hard to inform other sailors that chainplates can break, and not just where they pass through the deck with no oxygen. When one “rerigs” their boat, they need to be thinking from the condition of the mast and the tangs, right down to the chainplates.
 Article about our dismasting
Recently after some other dismastings of sailboats, I now realize that its equally important to consider WHAT those chain plates are attached to! If your new rigging is all attached to rotten or slowly rotting bulkheads because the chainplates leak on occasion, well, why bother with the expense of new rigging, and new titanium chainplates? This would be like tying a rope swing to a twig. Eventually, the twig will crack, and the best titanium ropes will just fall down, bringing everything else down that’s attached, with your life in its branches.

This is part 2 of this video series. In part 1, Patrick shows how he repairs the bulkhead, rebuilds everything, and makes sure that is very strong, so it can continue to support the chainplates that hold up the rigging, that hold up the mast. He also tells you about using titanium on a sailboat, and why we used titanium rather than stainless steel chainplates. It’s been 8 years with those chainplates. It seems like yesterday. I’m so glad we don’t have to start worrying about them again in a few years!

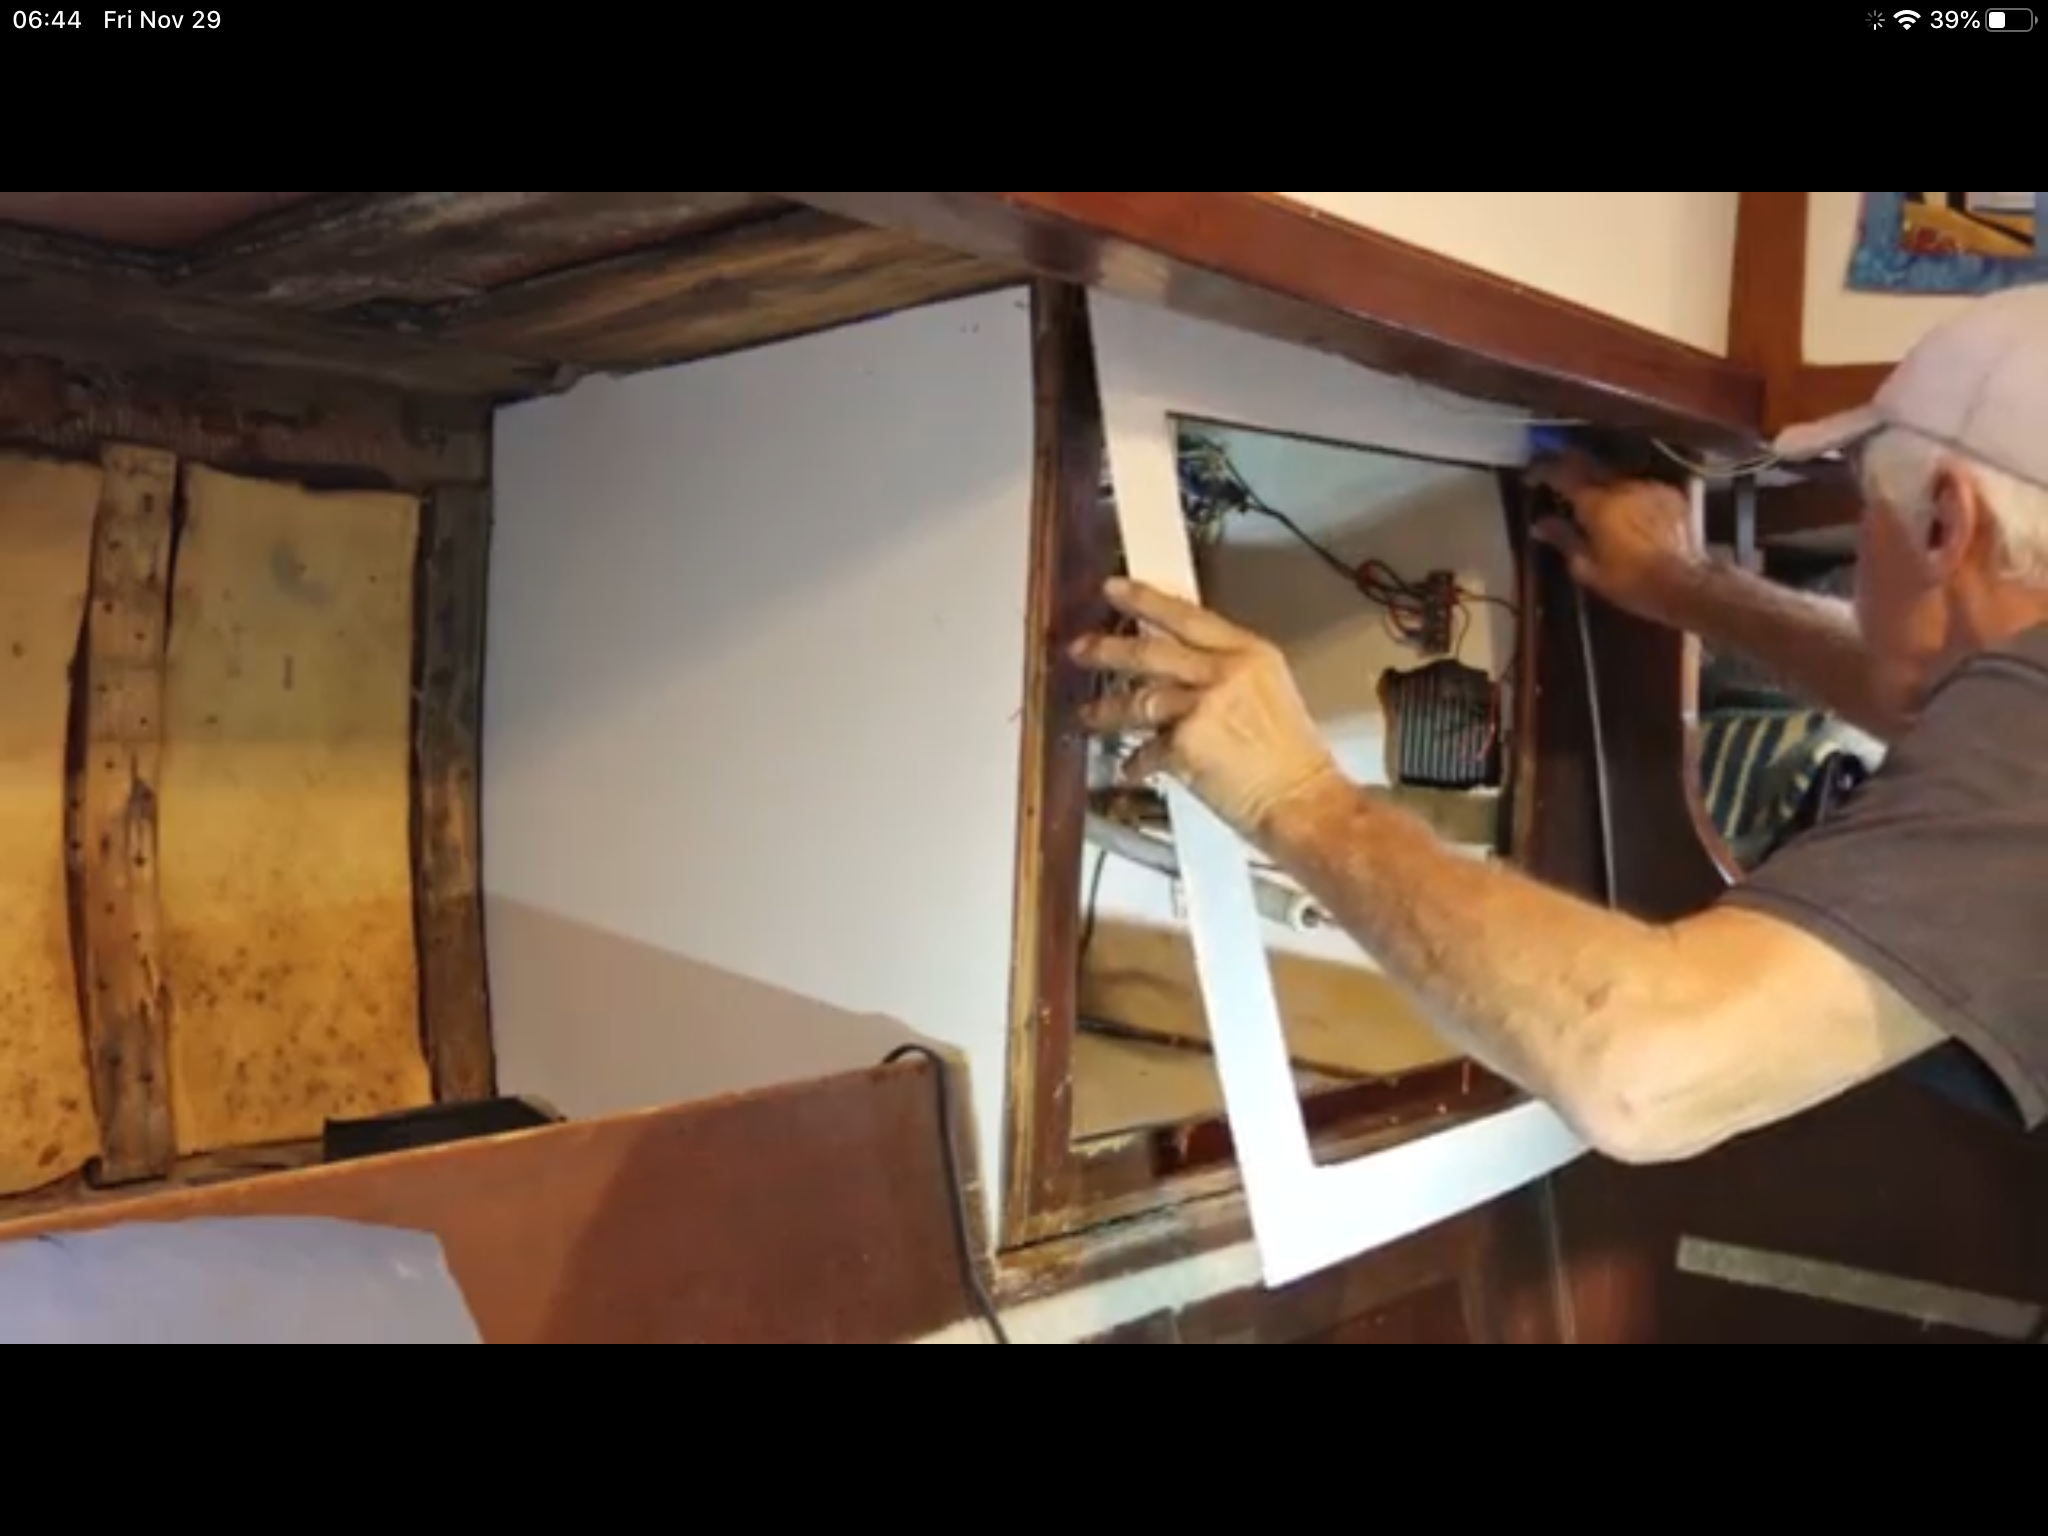
 Then in Part 2, Patrick shows how he modifies the hole that the titanium Chainplate passes through the deck through. He puts down plastic laminate to redirect any water that may ever find its way through that hole, to run on top of the Formica rather than under, and in to the wood.
And the Formica serves another purpose…to make our 43 year old Valiant 40 look young and beautiful again!
Be sure to watch both videos if you want to see the entire project.
Part 1 -Fixing the Rotting Bulkhead, and Why we Used Titanium Chainplates
Part 2: Putting it all back together again, and making it Beautiful!
Please leave any comments on the video itself since this helps our ratings much more than leaving it on this blog. Plus I hardly ever check this blog for comments.
Thanks for watching, and liking, and subscribing to our channel!


 What happens when a monkey swings from a Redport Halo long distance WiFi antenna on a sailboat in a boatyard in Africa?

